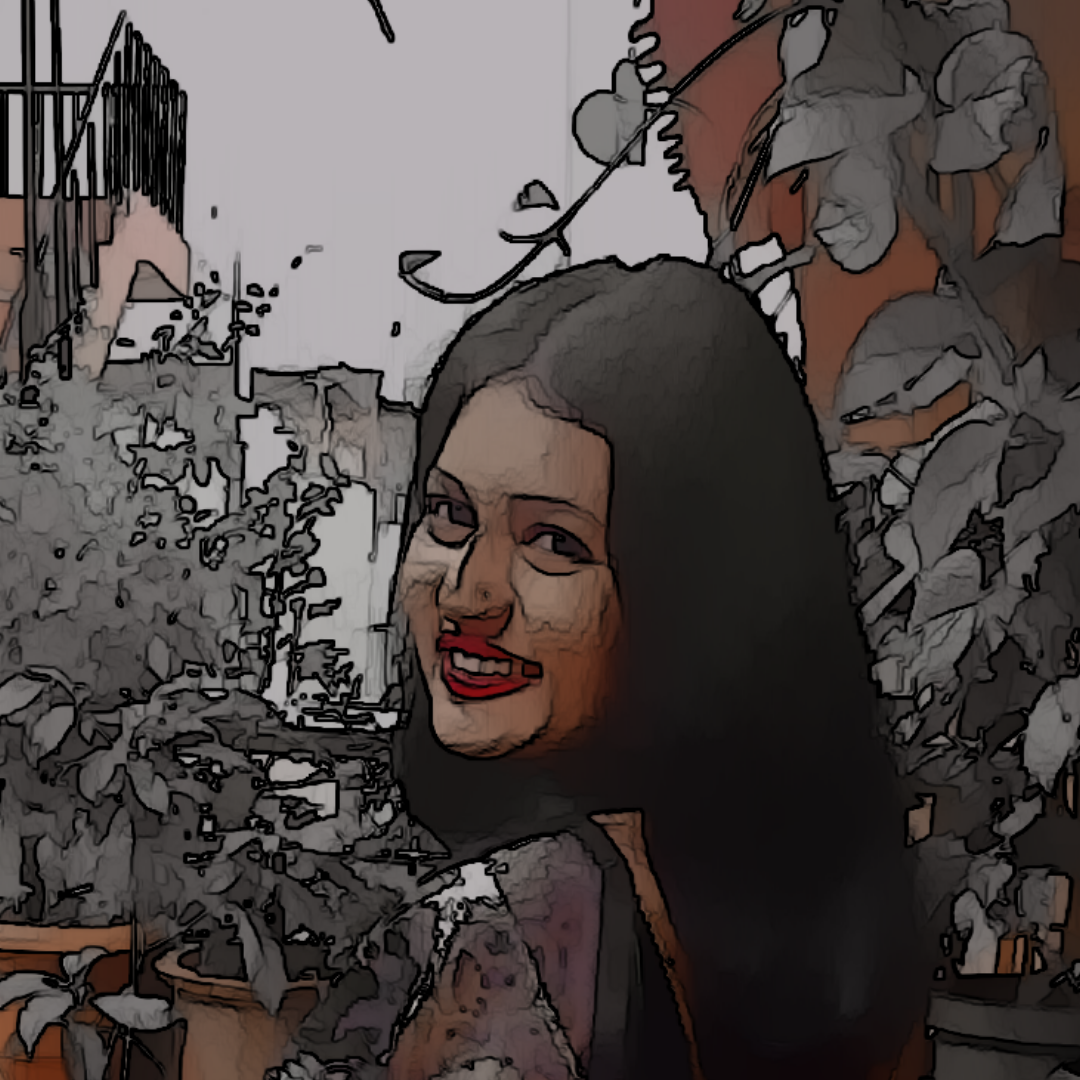
Cartoonifying images with code are fun. It's like an exciting python project for beginners.
So Let’s Get Started
Step 1:- Importing the required Libraries and Modules
To start I’m going to create a new python file and name it cartoon.py(The extension for the python file are .py)
Python is blessed with thousands of Python Projects Simple Libraries which do all the heavy lifting. cv2 is one of them.
Import cv2 because it's an open-source library that is useful for computer vision applications like video analysis, image analysis, and CCTV footage analysis.
So here cv2 is useful for image analysis.
Import os it's useful to provide a function for interacting with the operating system.
Import path for giving or to set the image path.
To import library
pip install cv2
pip install os
Step 2. Write the Program
import cv2
import os
from pathlib import Path
image_name = input("Please enter the name of the image file that you want to process: ")
## User input for the name of the image file.
image_directory = input("Please enter the directory that may contain the image: ") ## User input for the path of the image file.
## This function looks for and finds the desired file. You can specify a parent directory for the function to look for, however, if you have no idea where a file is; this function will find it for you, just slower. If you have no idea where a file is, just type "/".
def find_the_image(file_name, directory_name):
files_found = []
for path, subdirs, files in os.walk(directory_name):
for name in files:
if(file_name == name):
file_path = os.path.join(path,name)
files_found.append(file_path)
print(files_found[0])
return files_found[0] ## Return the path.
image_path = Path(find_the_image(image_name, image_directory)) ## Inıtialize the path of the image file.
new_working_directory = image_path.parent ## Initialize the parent directory of the image path.
os.chdir(new_working_directory) ## Change the working directory of the script to the parent directory of the image path.
color_image = cv2.imread(find_the_image(image_name, image_directory))
##cv2.imshow("image_not_processed",color_image) ## Uncomment this to see the image without the process.
##cv2.waitKey()
##cv2.destroyAllWindows()
cartoon_style_selection = input("This script currently has 2 styles. Please type 1 or 2. ")
if (cartoon_style_selection == "1"):
cartoon_image_style_1 = cv2.stylization(color_image, sigma_s=150, sigma_r=0.25) ## Cartoonify process.
cv2.imshow('cartoon_1', cartoon_image_style_1)
cv2.waitKey()
cv2.destroyAllWindows()
elif (cartoon_style_selection == "2"):
cartoon_image_style_2 = cv2.stylization(color_image, sigma_s=60, sigma_r=0.5) ## Cartoonify process.
cv2.imshow('cartoon_2', cartoon_image_style_2)
cv2.waitKey()
cv2.destroyAllWindows()
else:
print("Invalid style selection.")
Step 3: Understanding the Program
First import all libraries
Import cv2 for image analysis.
After that give value to take the input from the user:
-> image_name = input("Please enter the name of the image file that you want to process: ")
-> image_directory = input("Please enter the directory that may contain the image: ")
Find the desired file. You can specify a parent directory for the function to look for, however if you have no idea where a file is; this function will find it for you, just slower
-> def find_the_image(file_name, directory_name):
-> files_found = []
-> for path, subdirs, files in os.walk(directory_name):
-> for name in files:
-> if(file_name == name):
-> file_path = os.path.join(path,name)
-> files_found.append(file_path)
It returns a file path.
-> print(files_found[0])
Initialize the path of the image file.
-> image_path = Path(find_the_image(image_name, image_directory))
Initialize the parent directory of the image path.
-> new_working_directory = image_path.parent
Change the working directory of the script to the parent directory of the image path.
-> os.chdir(new_working_directory)
Select one style at one time
-> cartoon_style_selection = input("This script currently has 2 styles. Please type 1 or 2. ")
It shows the cartoonify effect of the image in different size and style
-> if (cartoon_style_selection == "1"):
-> cartoon_image_style_1 = cv2.stylization(color_image, sigma_s=150, sigma_r=0.25) ## Cartoonify process.
-> cv2.imshow('cartoon_1', cartoon_image_style_1)
-> cv2.waitKey()
-> cv2.destroyAllWindows()
-> elif (cartoon_style_selection == "2"):
-> cartoon_image_style_2 = cv2.stylization(color_image, sigma_s=60, sigma_r=0.5) ## Cartoonify process.
-> cv2.imshow('cartoon_2', cartoon_image_style_2)
-> cv2.waitKey()
-> cv2.destroyAllWindows()
If conditions are not satisfied then it will print the below statement.
-> else:
-> print("Invalid style selection.")
At last the output of the program:
Please enter the name of the image file that you want to process: IMG_20210701_180423_942.jpg

Please enter the directory that may contain the image:
C:\Users\Nick\Desktop\project3\IMG_20210701_180423_942.jpg
This script currently has 2 styles. Please type 1 or 2.
After selecting one or two we will gate our image in cartoon effect.

Summary :
Because of this Cartoonify top python project, we understand that we can select any image and then we can easily give a cartoon effect to that image.
Post Tags
python projects ideas python projects with source code python projects for beginners python projects simple python projectsAbout the author

Nikita Padol
Nikita is a passionate programmer and aspiring Data scientist. She is pursuing her Master's (MCA) and is an intern at Edgrow , where she is building some exciting python projects with source code.


